7.5 Printing |

|

|
|
7.5 Printing |
|
|
7.5 Printing |
|
|
|
7.5 Printing |
|
|
Both the timing diagram and the parameter table can be printed directly to a printer or sent to an image file that can be imported into word processors. If you need the parameter table information to be editable when it is imported into a word processor, then it is better to use the export features covered in Section 11.10 Spreadsheets - Import and Export.
Print either the Diagram or Parameter table:
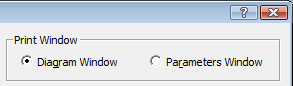
•Select either the File > Print Diagram or the File > Print Parameters menu to open the Print dialog. The Print Window controls are used to switch between the diagram and parameters options. |
|
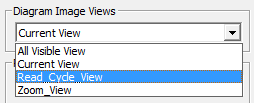
Image Views:
•DataSheet Pro can print different "views" of a diagram (See Section 7.1 Views). For the other editors, the Current View is all the visible timing diagram or parameters. |
|
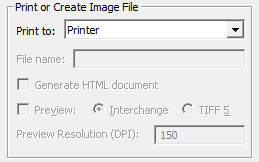
Print or Create Image File:
•Use the Print to box to pick printer or an image format. Printer prints to the default printer, which can be changed using the Setup button. File prints to a file that is compatible with the default printer. The default printer is displayed in the Printer section. •The image file formats are covered in Section 7.3 Images and Word Processors. |
|
Print Color Scheme:
•The controls in the Print Color Scheme section determine whether the image will be in black and white or color. |
|
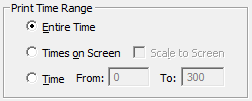
Print Time Range:
•Entire Time prints to the end of the longest drawn signal or the first End Diagram marker. •Times on Screen prints the portion of the diagram that currently appears in the Diagram window. Scale to Screen also scales the text to the image size. |
|
•Time prints from the starting time to the ending time. |
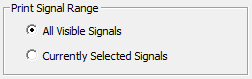
Print Signal Range:
•All Visible Signals prints all signals that are not hidden. •Currently Selected Signals prints only signals that are selected or names highlighted in the Label window. |
|
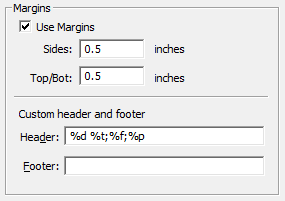
Margins:
•Use Margins enables the margin options. If this is unchecked, the only margins will be the minimum area needed by your printer. This option, when combined with an unchecked Print signal names check box, is useful if you are trying to tape long diagrams together. •Sides and Top/bot indicates how wide the margins should be. •Custom header and footer strings allows text with control codes to be printed in the margins of the paper. Use a semicolon to separate left, center, and right justified text. In the example, the filename will be printed in the center of the header. |
%f filename %p page number %d date %t time |
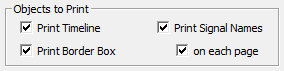
Objects to Print:
•Print Timeline inserts the timeline above the waveforms. •Print Border Box draws a black border around the image. |
|
•Print Signal Names prints the names of the signals. The on each page control specifies whether to show the names on each page of the printing. |
Scaling:
•% Horizontal and % Vertical indicate the amount to scale the drawing. We recommend you use TrueType fonts when scaling as regular fonts do not scale. |
|
•Number of horizontal pages forces the drawing to be printed on the specified number of horizontal pages. This feature only scales the waveforms horizontally. Text and signal names remain the same size. |