Step 7: Setup External Simulators |

|

|
|
Step 7: Setup External Simulators |
|
|
Step 7: Setup External Simulators |
|
|
|
Step 7: Setup External Simulators |
|
|
At this point, all of the test bench code has been generated and you can take the source code files from the project directory and simulate them using any VHDL or Verilog simulator. However, TestBencher Pro can act as a graphical debugger for your simulator. In the beginning, when you are debugging the test bench itself, it is recommended that you work within TestBencher so that you can quickly make changes to the graphical transactors and regenerate the testbench.
Use the Simulator and Compiler Settings dialog to set the paths for external tools:
TestBencher Pro needs to know where your VHDL/Verilog simulator or C++ compiler is located and also needs to compile the Syncad library. If you are using one of SynaptiCAD's VeriLogger simulators you can skip this section, because the simulator was setup during installation. The external tool settings are saved in the file simulatorconfiguration.ini (located in the SynaptiCAD Local App Data directory) each time the program is closed (not in the project file), because the locations of the simulators are machine-specific. If you transfer your project to a new computer, you will need to repeat this step on the new machine. Also, if you upgrade simulators or upgrade TestBencher Pro, then you will need to recompile this library.
•Choose the Options > Simulator / Compiler Settings menu option to open a dialog of that name. |
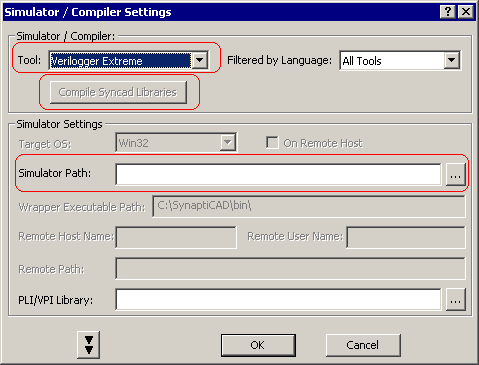
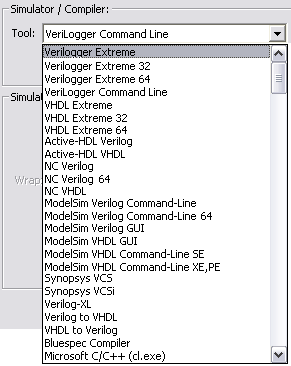
•In the Tool drop-down, choose your simulator or compiler. VeriLogger Extreme will run either in 32bit mode or 64bit mode depending on your OS version (e.g. 32bit or 64bit OS). To force 32bit operation on a 64bit system, select VeriLogger Extreme 32. |
|
•In the Simulator Path edit box, either type in the path name or use the browse button to search for the path. |
|
•The Compile Syncad Libraries button compiles the Syncad library needed by external simulators and compilers for SynaptiCAD projects. This needs to be done one time before using a new simulator. |
|
•The PLI/VPI Library setting is for the full path to the PLI or VPI library that the selected tool will use. |
|
•Continue to setup the paths for each tool that you are interested in using. When you are done, click OK button to close the dialog. |
Use the Project Simulation Properties dialog to set simulator specific commands:
Each of the main simulation languages has a default tool and program settings that are stored in the Project file. When you create a new project, the project language will determine which tools are used. To specify which tool to use and its’ default settings:
•Choose Project > Project Simulation Properties menu option to open the dialog. |
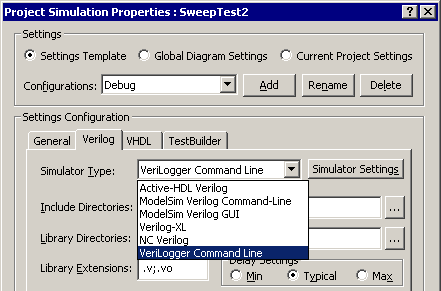
•The Settings Template radio button indicates the dialog will be editing the default project settings for all future projects. These settings are saved in the INI file. Current Project Settings effects only the project that is currently open. •Click on the language tab for the external tool that you are setting up. •From the Simulator Type drop-down, choose the external tool. •The Global Diagram Settings radio button changes the simulator that is used to simulate individual transactions (simulated signals in a Diagram window). By default this is setup to use an internal Verilog simulator, but if you are simulating in a different language, you can set the simulator to your external simulator. This should only be necessary if you need to enter direct hdl code for simulated signals (not typically necessary). •Section 8.2: Project Simulation Properties Dialog has detailed information on the the controls in this dialog. •Press the OK button to close the dialog. |